
I will present a short description of installation of MS SQL Server Express in a basic configuration on a workstation that will also be able to act as a database server in our local network and will share data with other stations.
Sample installation for MS SQL Server 2012 version. For newer versions it looks similar.
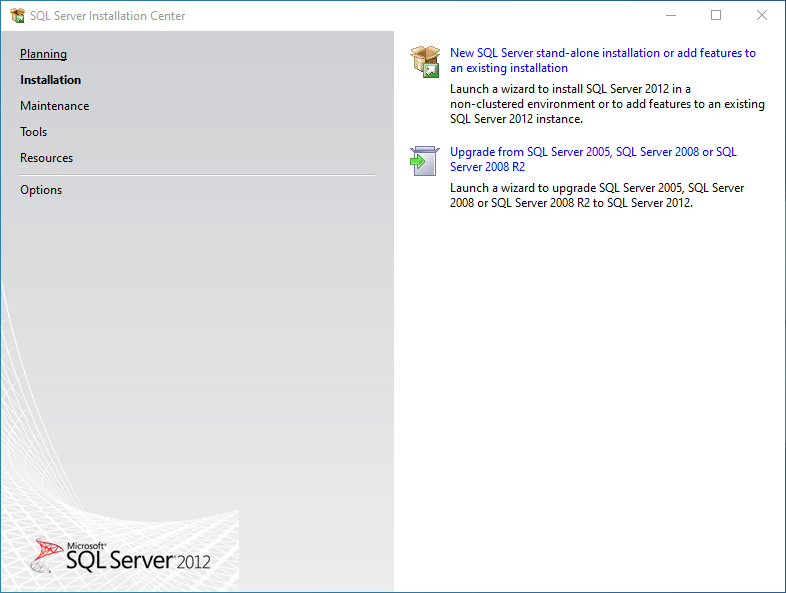
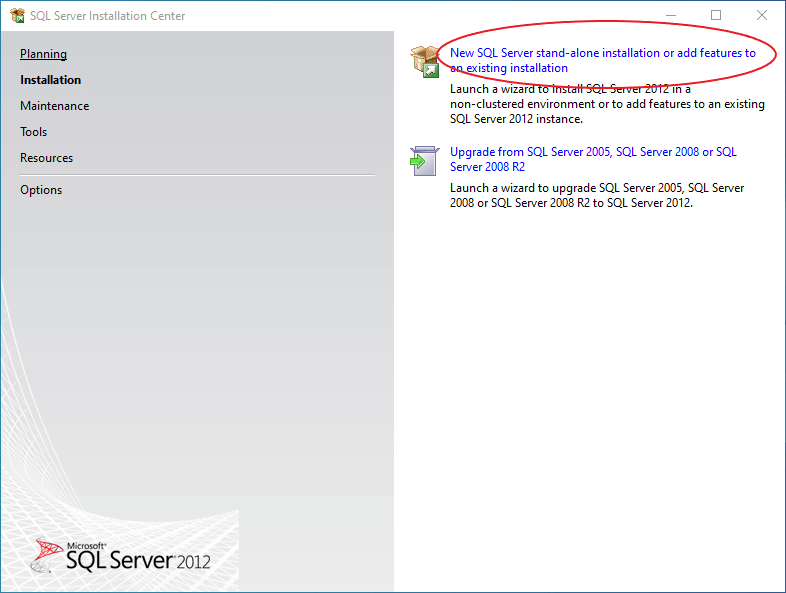
After running the installation file, we see a screen that allows you to choose the option to install or update the older version of SQL Server.
I assume that we do not have MS SQL Server software installed on the position, so we choose the "New SQL Server stand-alone installation" option
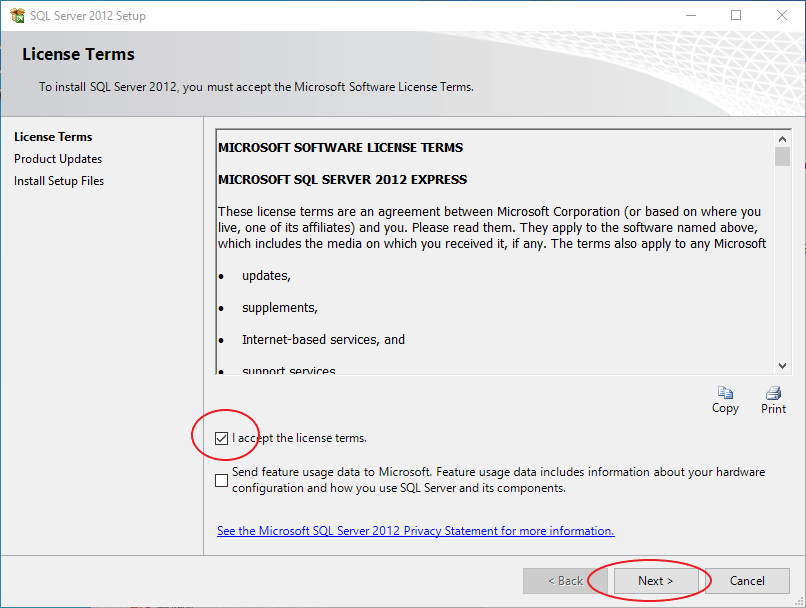
We accept the license terms and press Next
In the next window we see a summary of the result of the verification of the compatibility of our operating system and its components with the installed server software. If any errors or warnings appear in it, you should install the necessary system components (e.g. .NET Framework or PowerShell) or restart the system and reinstall the installation.
After completing the missing components, run the installer again and repeat the previously described steps.
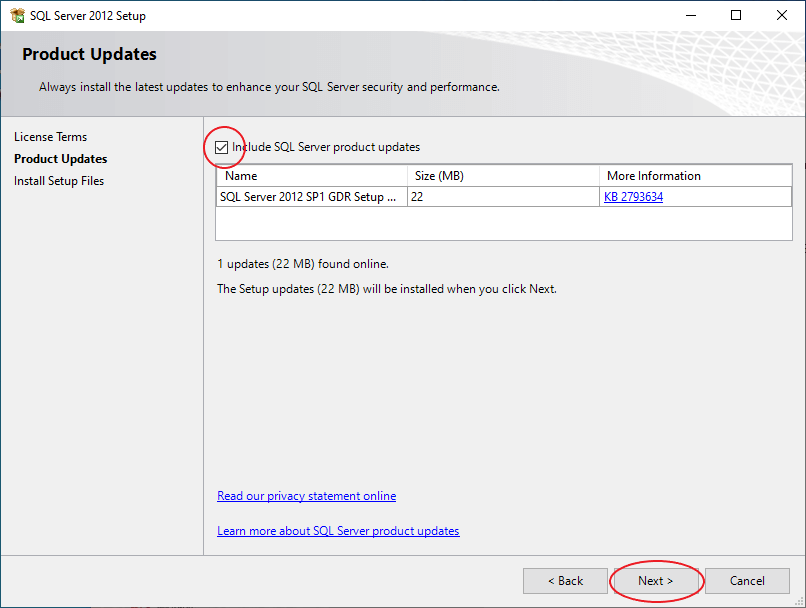
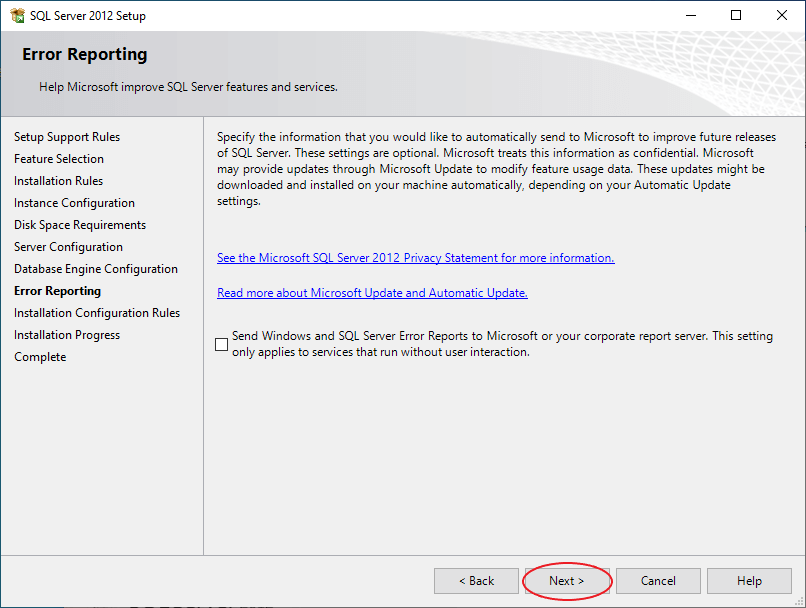
In the next window, we can select the option to automatically download server software updates.
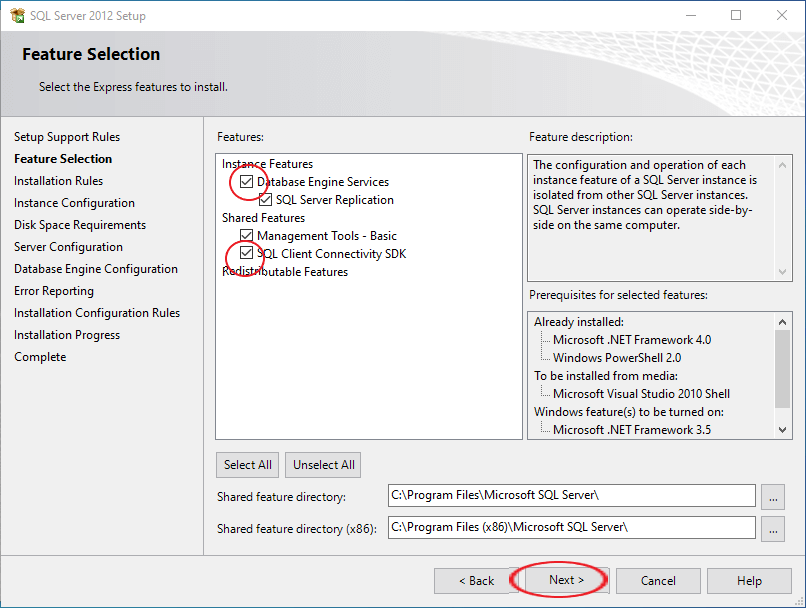
Then we select the components to be installed. Depending on what server installation package we downloaded (With Tools, Advanced, etc.), we have various tools and applications to choose from. First of all, check the options "Database Engine Services" and "SQL Client Connectivity SDK". You can also choose to install basic server management programs. However, for the sake of ease of use, we will later install the very useful MS SQL Server Management Studio application.
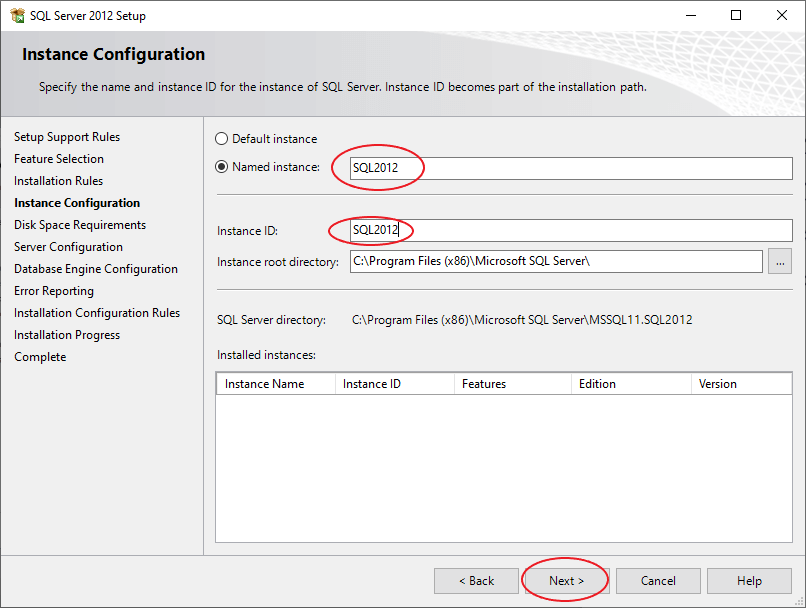
Now let's give the instance name, i.e. the name under which our SQL server will be visible in the network (it will create the address in conjunction with the name of the computer workstation). Ultimately, the address will be visible in the local network WORKSTATIONNAME\INSTANCENAME. Due to the fact that we can have many versions of the MS SQL server software on the stand, we can enter here e.g. SQL2012.
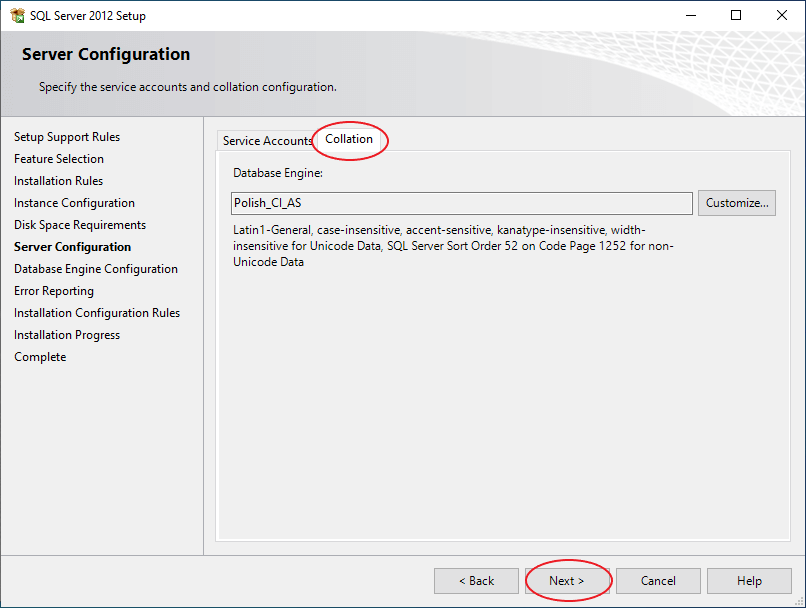
We go to the next window, where we can see system services that will be launched after the system startup. We verify that the automatic start option is selected for "SQL Server Database Engine".
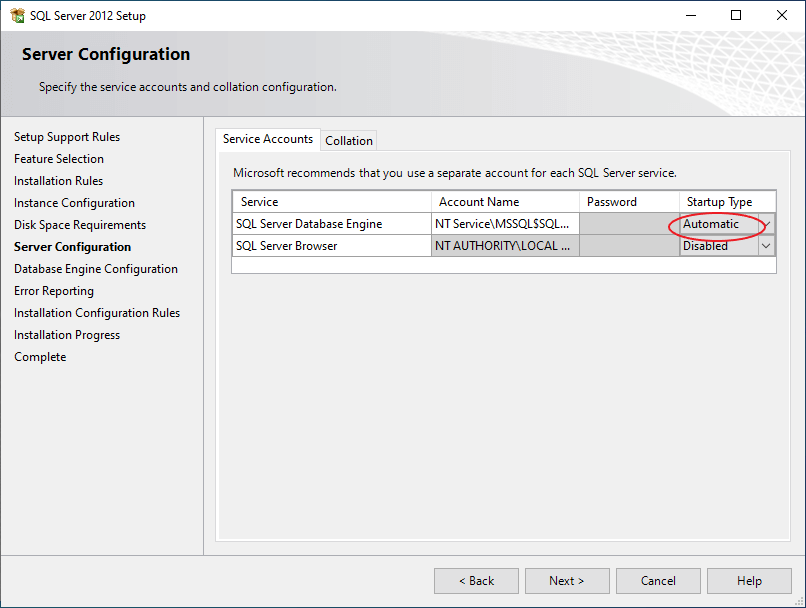
We also check if we have the correct setting for our language in the Collation tab.
After going to the next window, configure the server access settings. Usually we want to use the server from the level of other workstations and external applications (eg MS Access, Excel, compiled programs). I suggest you choose Mixed Mode here (i.e. Windows Authentication plus SQL Server). Here we also set the password of the SQL server administrator (user "sa").
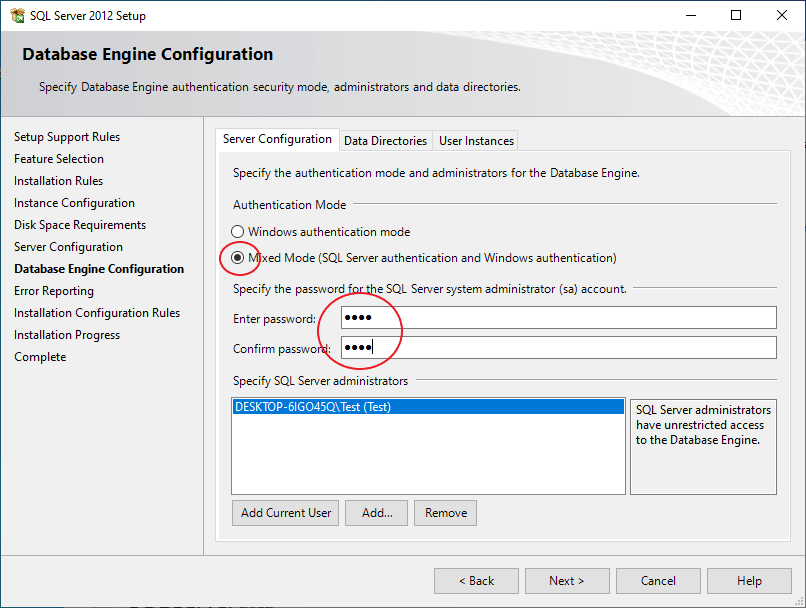
The currently logged in user of our workstation (in the example, user Test), has been added to the list of administrators by default.
You can of course stay with the "Windows authentication mode" option. We will then have to add users of positions to the server to verify security compliance.
Go next
The last window shows the result of the installation
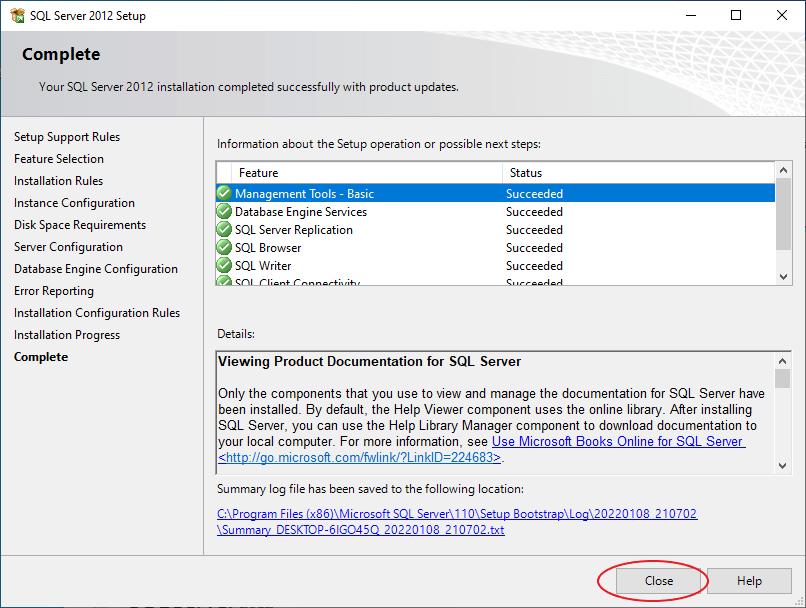
We close the window. MS SQL Server software is ready to work.
For convenient server management and the added databases, I suggest installing MS SQL Management Studio. You can download its latest version, as it allows you to work with most versions of the server, including its older versions.